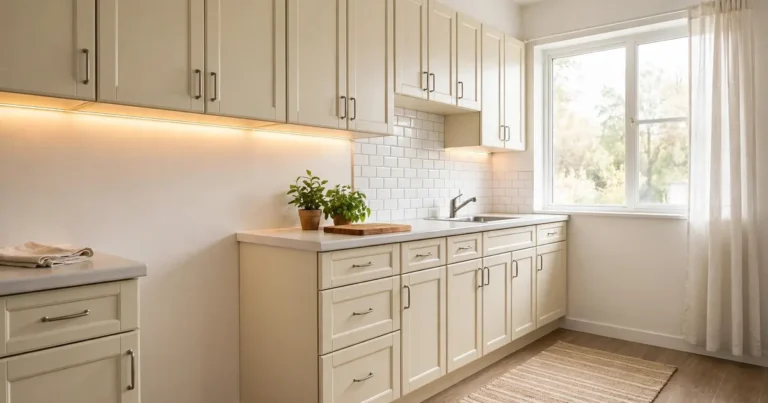
A sink wall with toothpaste spray and no protection ages a bathroom fast. Water spots and peeling paint behind the faucet are the usual signs. You do not need a tiler or a big budget to fix them.
These 15 bathroom backsplash ideas run from renter-safe peel-and-stick to real tile a beginner can set. Most land under $50; a few stretch toward $100.
Small bathrooms get extra attention, since reflection and vertical lines matter more than pattern. Measure the wall behind your vanity before you shop.
Peel-and-Stick Subway Tile: A Bathroom Backsplash Renters Can Remove
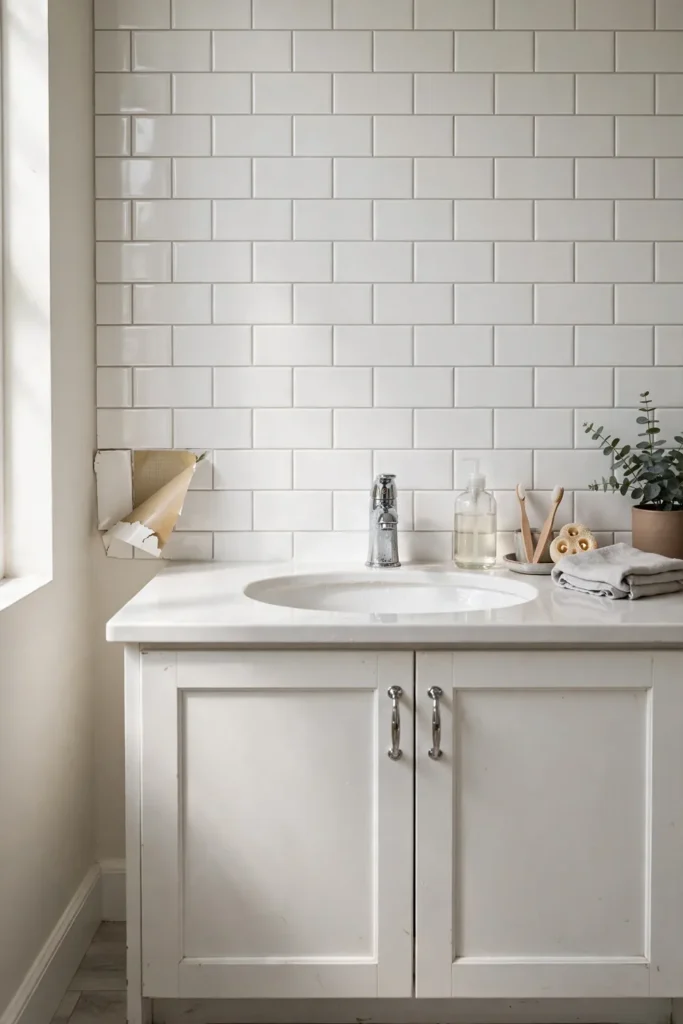
Most roundups recommend peel-and-stick subway tile, and the advice is half right. It goes up in an afternoon, costs little, and comes off when you move. In photos it passes for real tile.
The real win is what you skip: no wet saw, no thinset to mix, no grout to scrub. A utility knife, a ruler, and a flat wall are the whole tool list. Smart Tiles is one brand many renters know, and it suits smooth walls behind the sink.
Up close, the repeating print gives it away, and the edges lift first in a steamy bathroom. Clean the wall with rubbing alcohol first, since dust kills adhesion. Skip it inside showers or on textured paint, where it fails fast. See more renter-friendly picks before you buy.
Penny Tile Bathroom Backsplash That Forgives Mistakes
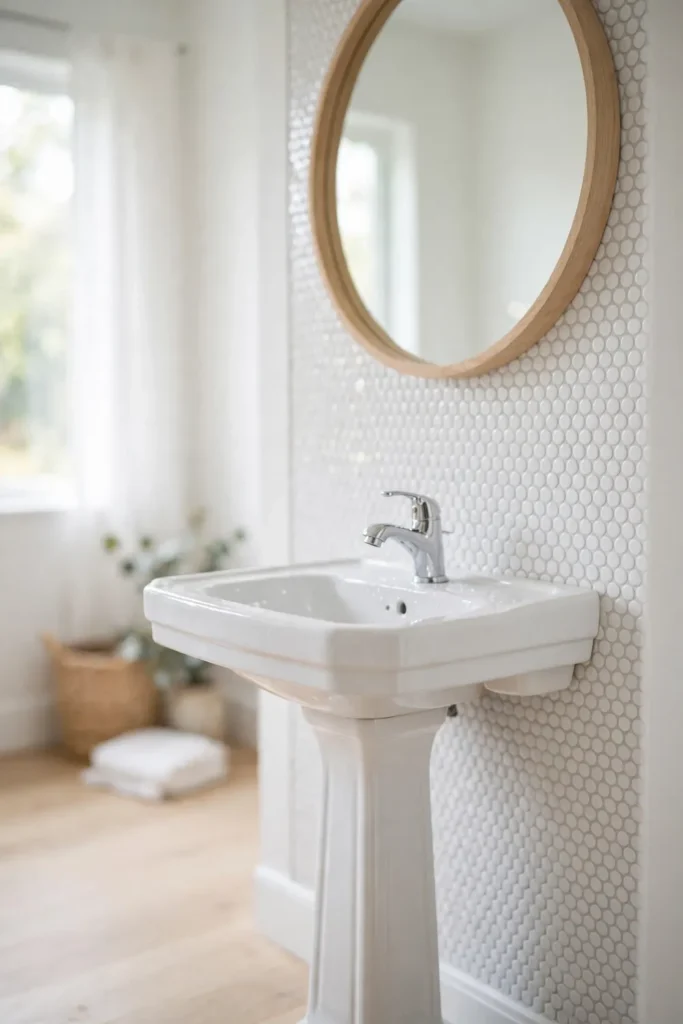
Penny and hexagon sheets hide crooked cuts because the pattern is already busy. A wavy cut edge disappears into the dots. That makes them the most forgiving option for a first-timer.
They cost about the same as subway sheets, usually $5 to $8 per square foot. A sink wall of 10 square feet lands under $50. Measure twice, since small sheets mean more seams.
Grout lines on penny tile collect toothpaste spray. Wipe the wall weekly or the dots turn gray at the edges. This is the maintenance the roundups skip.
If you use cement tile or natural stone, seal the tile itself before grouting. Seal the grout again once it cures. Water and soap win against unsealed surfaces, and sealer is cheap insurance.
For a powder room with no shower steam, they are hard to beat. Low moisture means the adhesive lasts. Pick this one if your bathroom has a fan that works.
Vinyl Rolls for the Tightest Budget
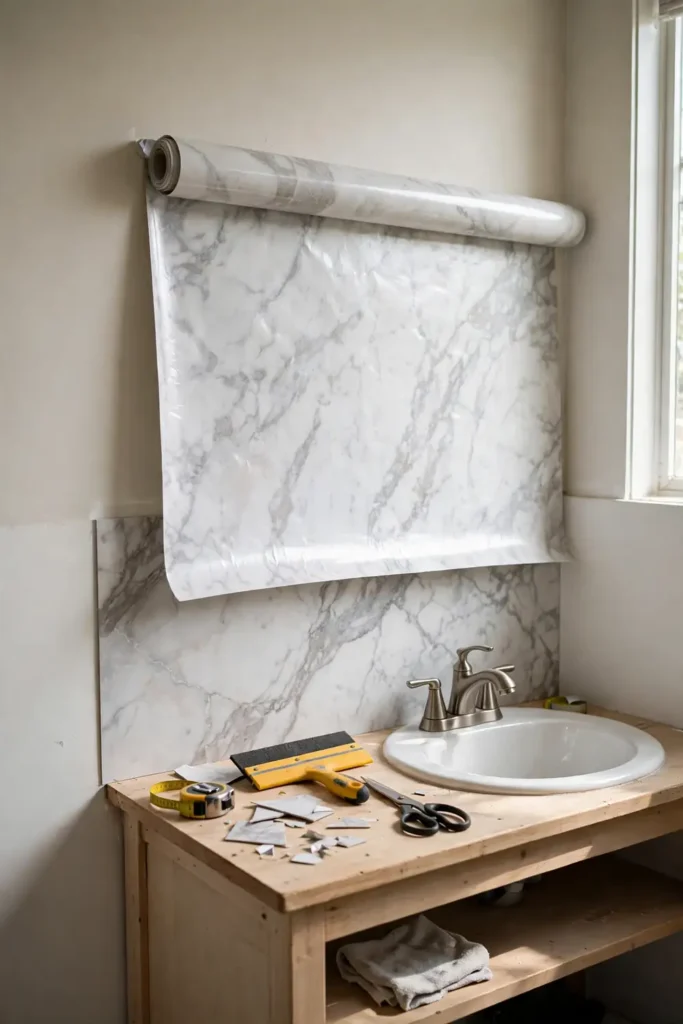
Some bathrooms need a refresh on $30, not $300. Vinyl tile rolls cover the sink wall for the price of two pizzas. They cut with scissors and stick like a big bandage.
A standard roll covers about 10 square feet, so one roll usually handles a single-sink wall. The tradeoff is thickness. Rolls show each bump in the wall, so fill holes and sand first. On a smooth wall they look surprisingly flat.
Measure the wall first, then start behind the faucet where the cut edge hides. Seams show more on glossy rolls, so pick a matte finish if the wall gets direct light. This is a two-year solution, not a ten-year one. Plan to replace it at your next lease renewal.
Wallpaper Behind the Vanity
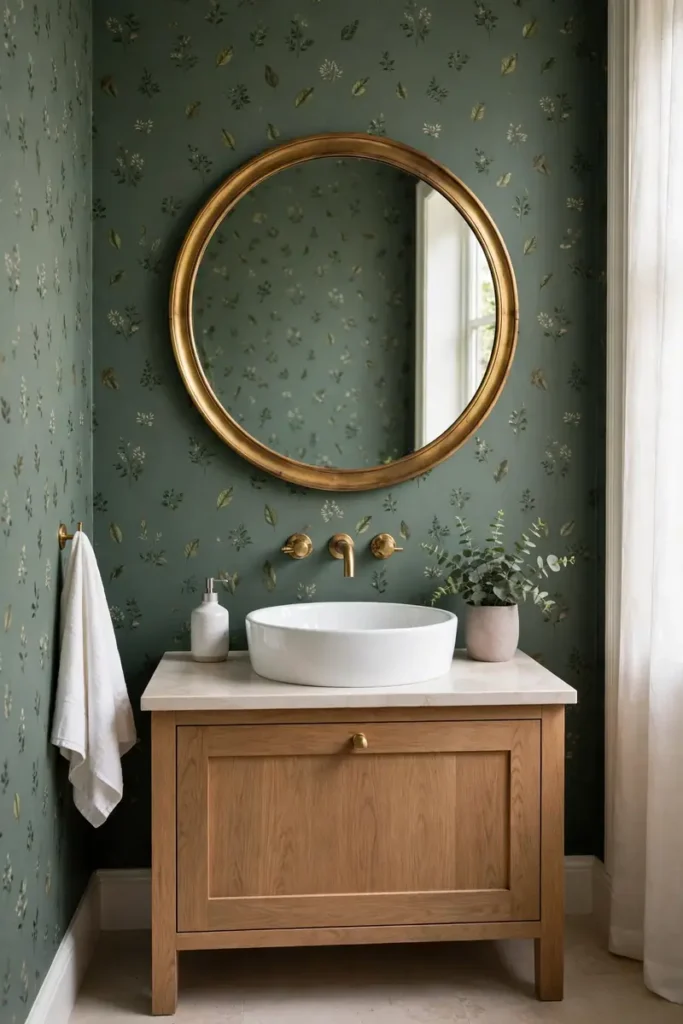
Waterproof wallpaper gives you pattern that tile cannot touch at this price. A bold botanical behind the mirror reads custom. Tile in the same look would cost five times more.
Tile wins on durability near water, so keep wallpaper a few inches clear of the faucet splash zone. Seal the bottom edge with clear caulk so splashes do not wick underneath. Look for rolls labeled washable or scrubbable. Paste-the-wall types go up faster and come down cleaner for renters.
Smooth the paper with a plastic smoother, not a rag, to avoid tearing the print. Overlap seams slightly and trim with a sharp blade at the counter line. Browse bathroom pattern ideas for print inspiration.
Mirrored Tile to Double the Light
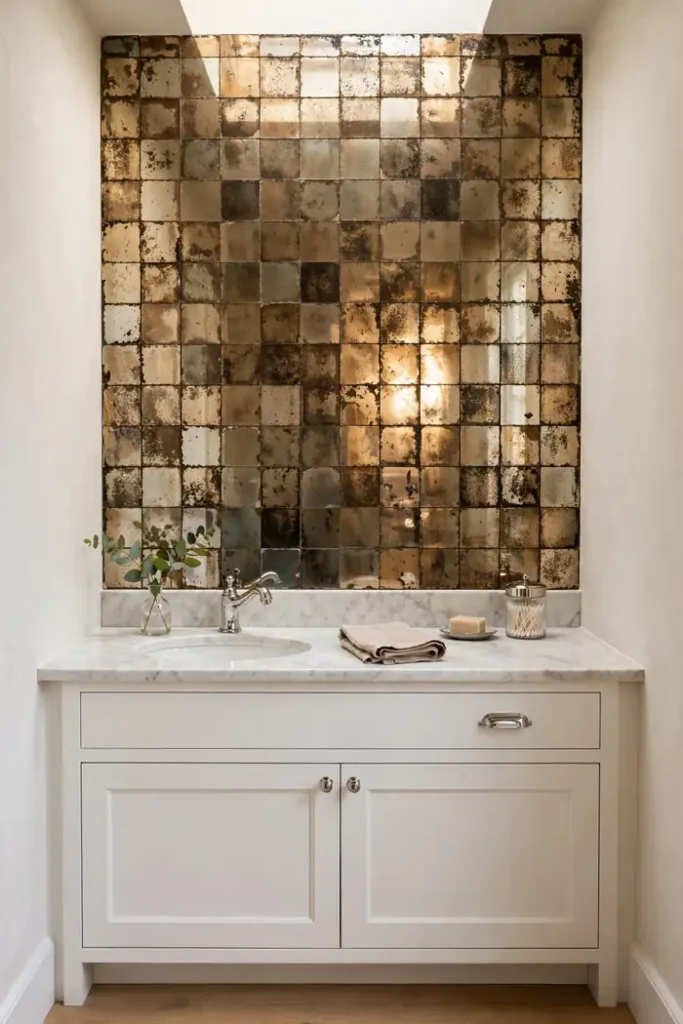
Small bathrooms suffer from one window or none. Mirrored tile bounces the existing light around instead of asking for more of it. The room reads twice as bright without a new fixture.
Antique-finish mirror tile works better than flawless mirror. Smudges and water spots hide in the mottled finish. A flawless surface shows fingerprints within a day.
Use it on the sink wall only. A whole bathroom in mirror tile feels like a funhouse. For more small-space tricks that borrow light, start here.
Wipe it with glass cleaner weekly. Toothpaste spray etches if it sits. This is a high-shine choice for people who clean.
A Vertical Bathroom Backsplash That Lifts the Ceiling
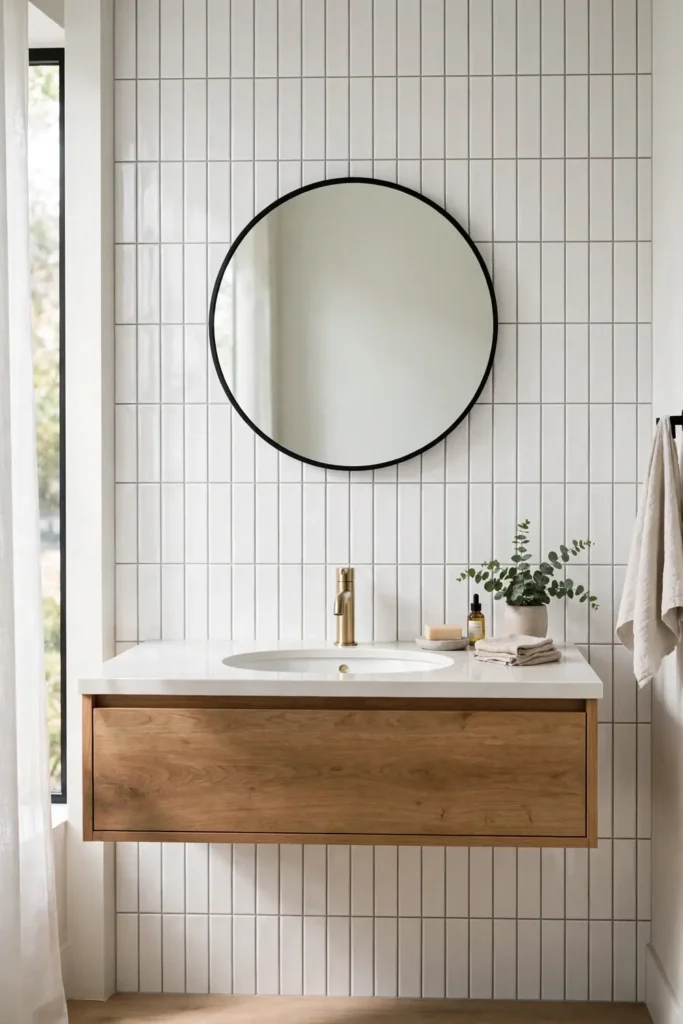
The hidden problem in a small bathroom is not width. It is the low ceiling pressing down. Vertical subway stacks draw the eye up, and the ceiling feels higher.
This layout uses the same cheap subway tile as the horizontal version. The labor looks custom while the material stays basic. Peel-and-stick sheets come in vertical-friendly sizes too.
Here is the upgrade worth copying from expensive bathrooms: run the tile full height to the ceiling. A backsplash that stops at the mirror reads like a repair. One that runs to the top reads like a decision. On a 10-square-foot wall the extra tile costs little.
Keep the grout tight and matching. Busy grout breaks the vertical line you built. White tile with white grout stretches the wall better than any contrast.
Beadboard Panels Without the Nails
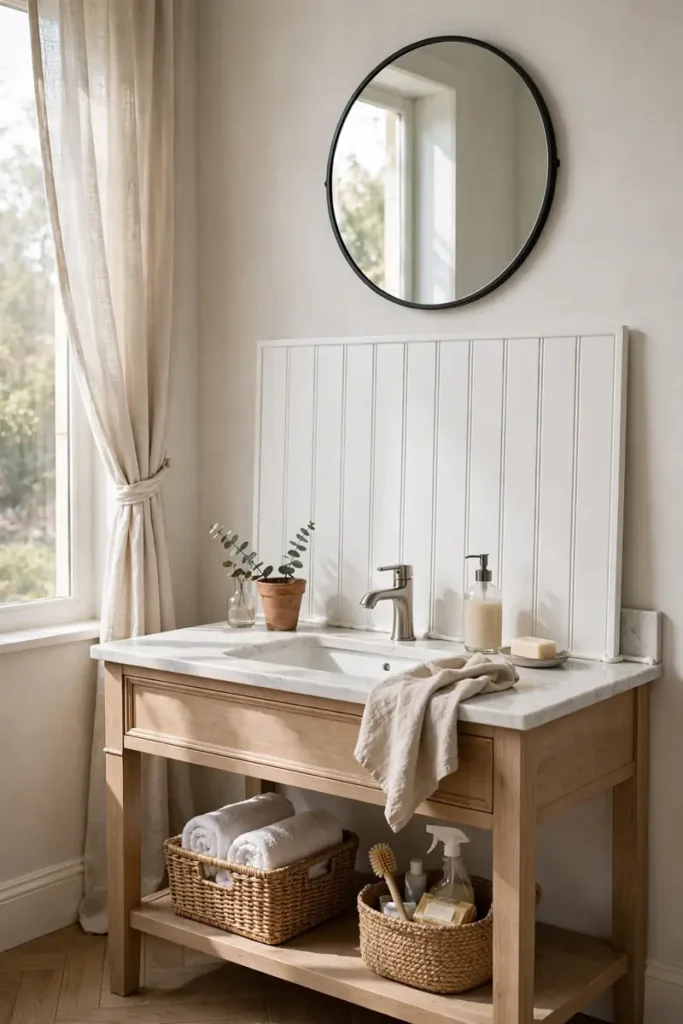
Beadboard reads classic in a bathroom, but nailing it up breaks most leases. The workaround is a freestanding panel cut to fit behind the vanity. It leans against the wall while the vanity holds it in place.
Cut it a quarter inch short so it slides in without forcing. Caulk the bottom edge where it meets the counter. Paint it semi-gloss so it wipes clean.
A panel like this costs $40 to $60 in materials. That keeps it in weekend-diy territory. One afternoon covers cutting, painting, and fitting.
Pull it out when you move and the wall is untouched. Store it flat to reuse it, since there is no hole to argue about.
Skip the Small Tiles Entirely
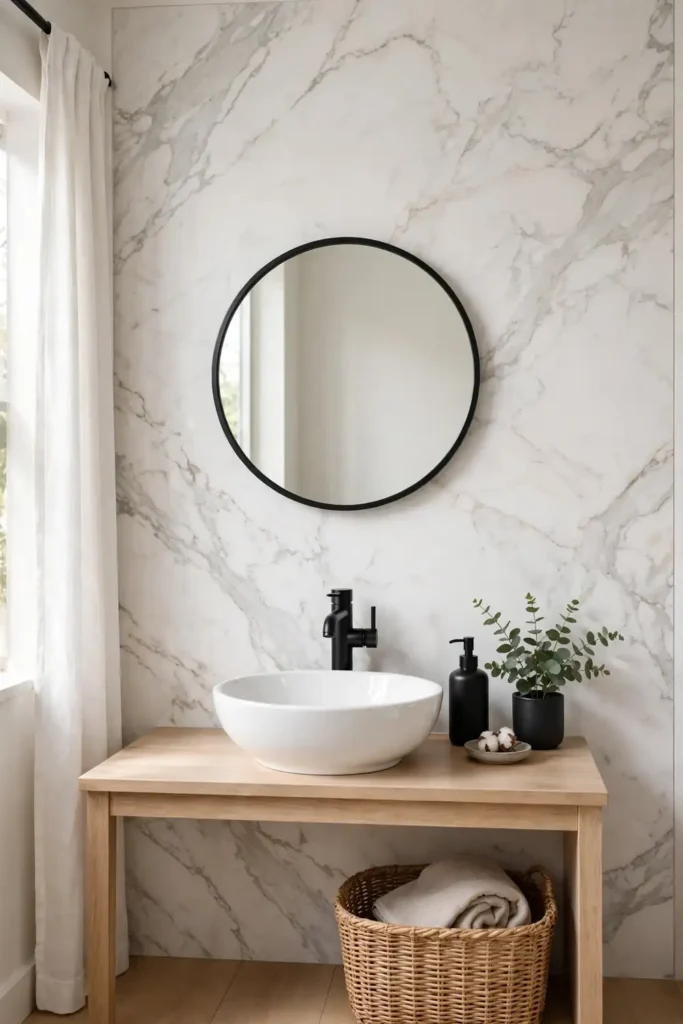
The contrarian move is skipping small tiles in a small bathroom. One large marble-look panel has almost no grout lines, so the wall reads as a single clean surface. Small tiles chop the same wall into a hundred pieces.
A 24-by-48-inch panel behind the vanity costs less than a mosaic of the same area. Fewer grout lines also mean faster cleaning. This is the rare case where bigger looks more expensive.
Order one extra panel in case the cut chips or the wall is out of square. Dry-fit before you glue it, and mark the faucet holes on the back. Shim or patch dips first, since large panels need a level wall.
Paint a Backsplash Band
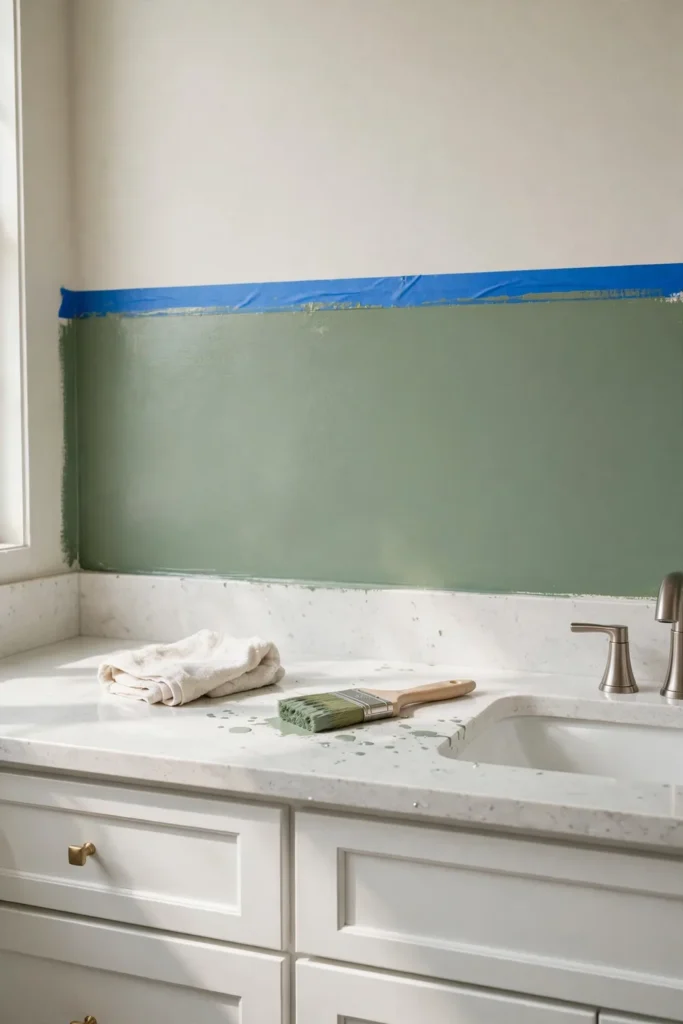
Painting the sink wall with leftover wall paint is the classic mistake. Flat and eggshell finishes absorb moisture and spot within months. A band of semi-gloss or bath-specific paint is a different material entirely.
Benjamin Moore makes bath paint formulated for humid rooms, and it suits this exact job. Tape a crisp band 6 to 8 inches high above the counter. Two coats, with a full day of drying between them.
Check the lease before you paint, since some landlords allow paint and some do not. A quart and a brush land this under $100. Keep the paint name for touch-ups.
Wood-Look Planks, Handled With Care
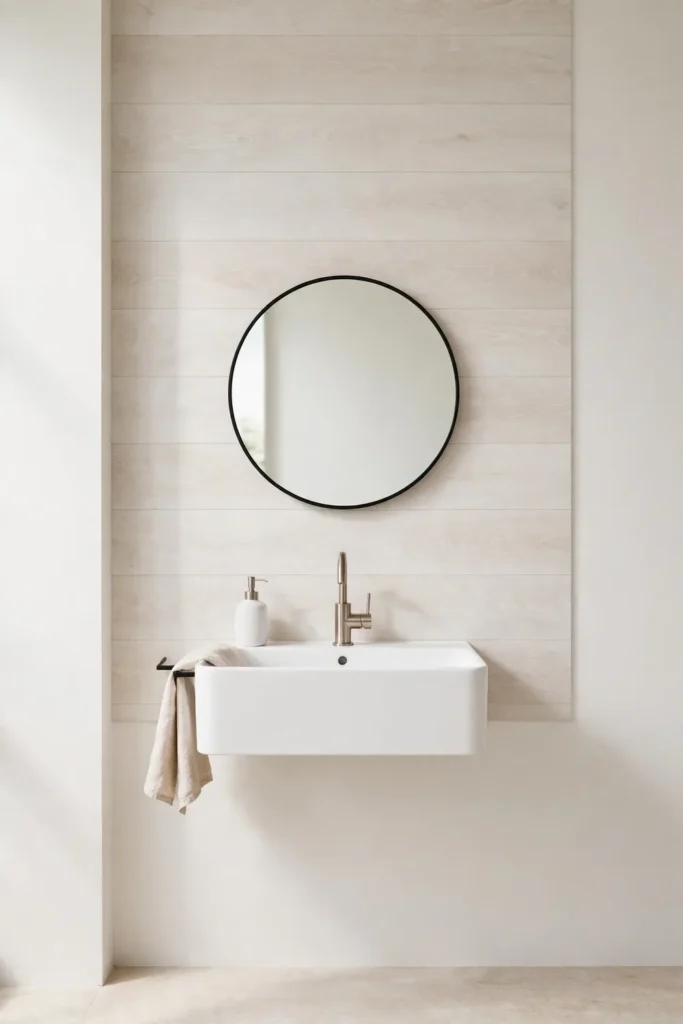
Natural wood behind a sink fails because water finds all the seams. The planks swell, the finish spots, and within a year it looks tired. Wood-look porcelain or vinyl planks give the grain without the grief.
What works is treating it like tile: sealed edges, caulked bottom, and no standing water. Peel-and-stick wood planks exist for renters. They suit powder rooms better than full baths.
Keep planks a few inches above the counter, not touching it. Water pools at that joint. A thin bead of clear caulk closes the gap.
Skip this look if your bathroom has no fan. Steam ruins adhesives and most finishes, so tile or glass serves a fanless bathroom better.
Zellige-Look Stick Tiles
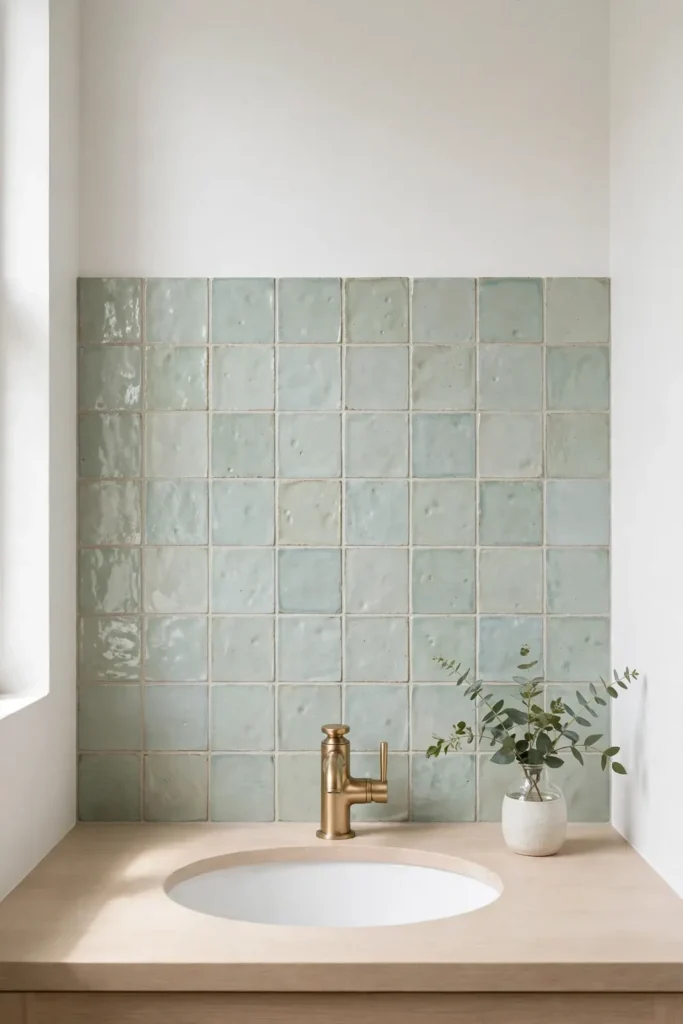
Zellige is handmade Moroccan tile with a wavy, handmade glaze. The real thing costs a fortune and needs a skilled setter. Zellige-look peel-and-stick gives you the texture at a tenth of the price.
Tic Tac Tiles makes a version renters like, with thicker tiles that hide wall bumps. It suits a sink wall that needs warmth without pattern. Skip it if you want a flat modern look, since the whole point is the ripple. It pairs well with minimalist bathrooms that need one textured moment.
Order samples first, since the glaze color shifts between batches. Stick tiles at eye level and work outward, so cuts land at the edges. The ripple hides small gaps, so do not stress a wavy line.
A Glass or Acrylic Sheet
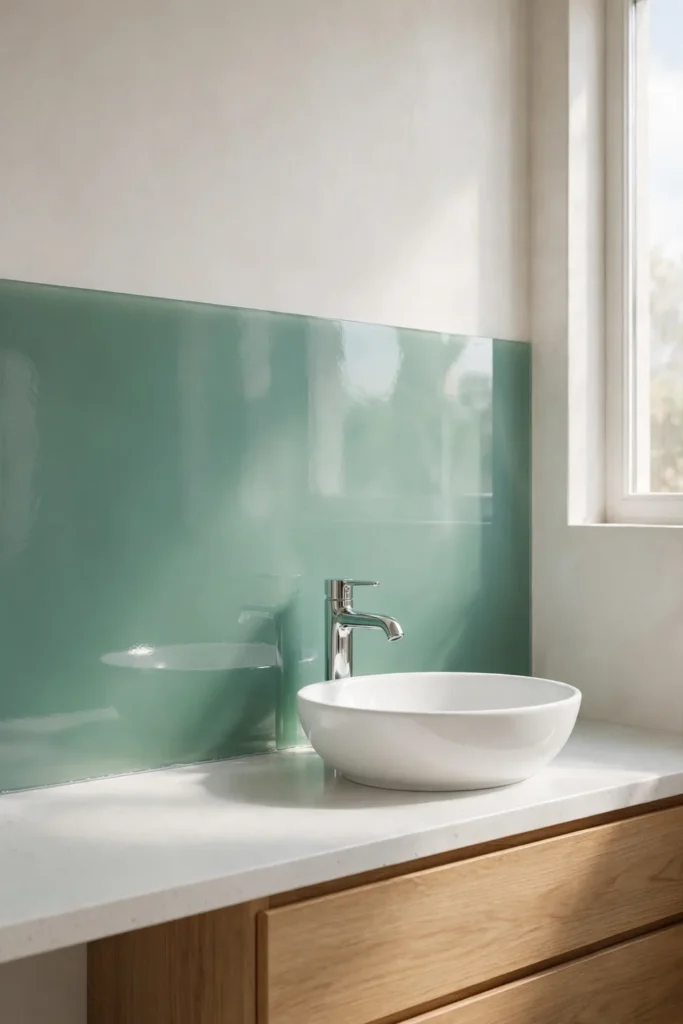
Some renters want zero grout and zero seams. A single sheet of tinted glass or acrylic behind the vanity wipes clean in seconds. Light bounces off it like a mirror, minus the fingerprints.
Acrylic is the renter pick: light, and it cuts with a scoring knife. Glass needs a pro to cut and temper. Mount acrylic with removable adhesive strips rated for the weight.
Leave a small gap at the bottom and caulk it. Water trapped behind the sheet grows things you do not want to see. A sheet this size usually runs $60 to $120.
Dark Grout on White Tile

Before, white tile with white grout looks flat and shows stains fast. After, the same tile with charcoal grout looks graphic and hides discoloration. The tile did not change. The grout did.
This only works if your lease allows grout changes, so check first. Grout pens exist for renters who cannot regrout. They paint the existing grout lines without touching the tile.
Dark grout suits a coastal bathroom with navy accents, or any room that needs contrast. White grout suits rooms you mop weekly. Pick the maintenance level you will actually keep.
Test the pen on one hidden line first, since some grout drinks the color unevenly. One coat is usually enough.
Keep It Short: The Four-Inch Bathroom Backsplash
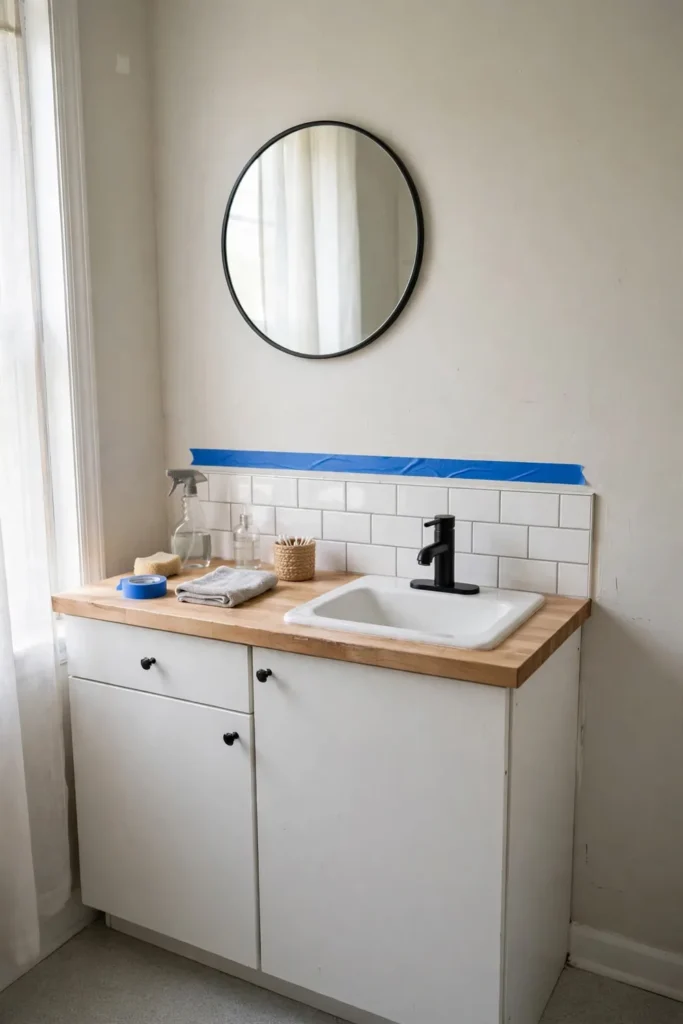
The mistake is assuming a backsplash must run to the mirror. A four-inch band of tile above the counter catches nearly all the splash. Anything taller is decoration, not protection.
Shorter means cheaper and faster, which matters for renters. A four-inch strip needs a fraction of the tile and an hour of work. Measure up from the counter and mark the line with tape.
Cut tile or stick sheets to a level line, then caulk the bottom joint where it meets the counter. That joint takes the most water, so do not skip the caulk. If the wall is uneven, a thin pencil trim along the top hides the wavy edge.
The $50 Weekend Refresh Plan
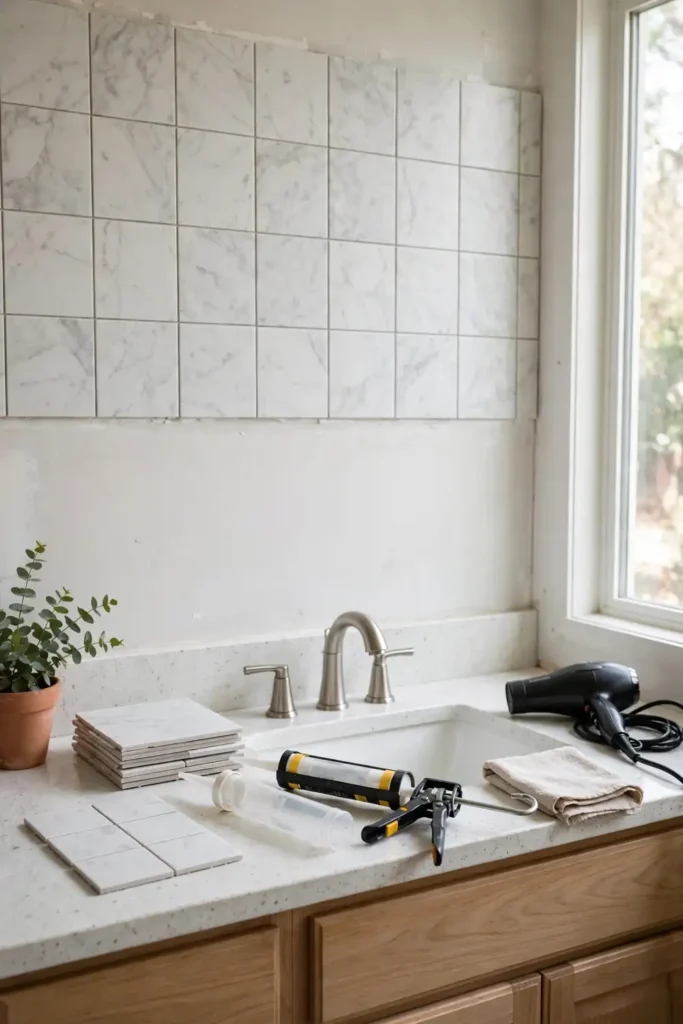
If the budget is $50 and the weekend is free, here is the order: clean, caulk, stick. Scrub the wall, recaulk the counter joint, then lay peel-and-stick tile. Lay the sheets from the faucet outward so the cut edges hide at the sides. Each step makes the next one hold better.
Buy one extra sheet beyond your measurement. First-timers miscut, and dye lots change between orders. The spare sheet also covers future damage.
Total time runs about three hours, including drying. Let the wall dry fully before you stick, since trapped moisture lifts edges by morning. More budget makeovers follow this same clean-caulk-stick logic.
Final Thoughts on Bathroom Backsplash Ideas
The backsplash that looks expensive is not the priciest one. It is the one with straight lines, sealed edges, and grout that matches the tile.
Measure the wall behind your vanity today, height and width. Two numbers drive all the good decisions in this article.
A backsplash will not fix bad lighting, a stained vanity top, or a bathroom with no ventilation. It gives the sink wall a finished look. That is the whole job, and it is enough.
FAQ About Bathroom Backsplash Ideas
Will peel-and-stick tile survive a steamy bathroom?
On the wall behind the sink, usually yes, if the wall is smooth and the edges are sealed. Inside a shower or right behind a hot tap, skip it. Constant steam and standing water defeat the adhesive.
Can I put peel-and-stick tile over existing ceramic tile?
Yes, and it often holds better than on paint, since glazed tile is smooth and non-porous. Scrub the grout lines first, because dust in the grout is what lets edges lift. The tile underneath stays untouched.
How do I remove peel-and-stick tile without losing my deposit?
Warm each tile with a hair dryer and peel slowly downward. Roll leftover adhesive off with your fingers. Wipe the wall with soapy water and photograph it for your move-out file.